
Recipe images, sizes and alt text
Your recipe photo is the first thing readers see on the recipe card and in search results. This page covers adding it, the size to upload so the whole dish shows, and the alt text.
Recipe images are free on every plan.
Add the recipe image
- Open the recipe in Recipe Kit.
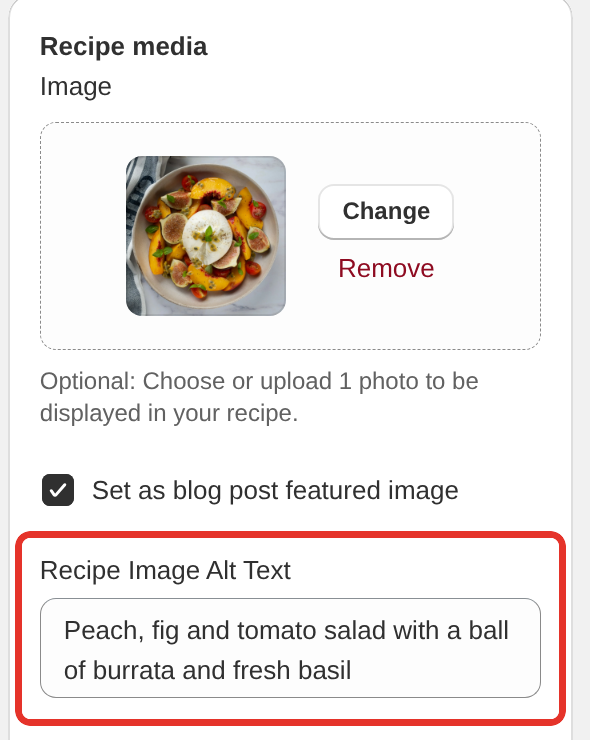
- In the Recipe media card, under Image, do one of these:
- Click Add from Shopify photos to pick a photo already in your Shopify files.
- Click Upload new photo to upload one from your computer.
- Drag a photo from your computer onto the box.
- Wait for the preview to appear, then click Save.
Recipe Kit accepts JPEG, PNG, GIF and WebP files up to 10MB. Any other format is refused with "Please upload a valid image file (JPEG, PNG, GIF, or WebP)".
iPhone photos are often HEIC files, which most browsers cannot show, so Recipe Kit does not accept them. Export the photo as JPEG first. To have your iPhone save JPEG photos from now on, set Settings > Camera > Formats to Most Compatible on the phone.
To swap the photo, click Change. To take it off the recipe, click Remove.
Use it as the blog post's featured image
Tick Set as blog post featured image under the photo. When you save, Recipe Kit sets the same photo as the featured image on the recipe's blog post. Themes that show a post's featured image, for example on the blog's index page, then use your recipe photo.
Add alt text
Alt text describes the photo for people using screen readers, and for search engines. Type it in Recipe Image Alt Text. If you leave it empty, the recipe title is used.
Describe what is in the photo, and include the recipe name. For example: "Golden chocolate chip cookies cooling on a wire rack".
Why part of your image is hidden
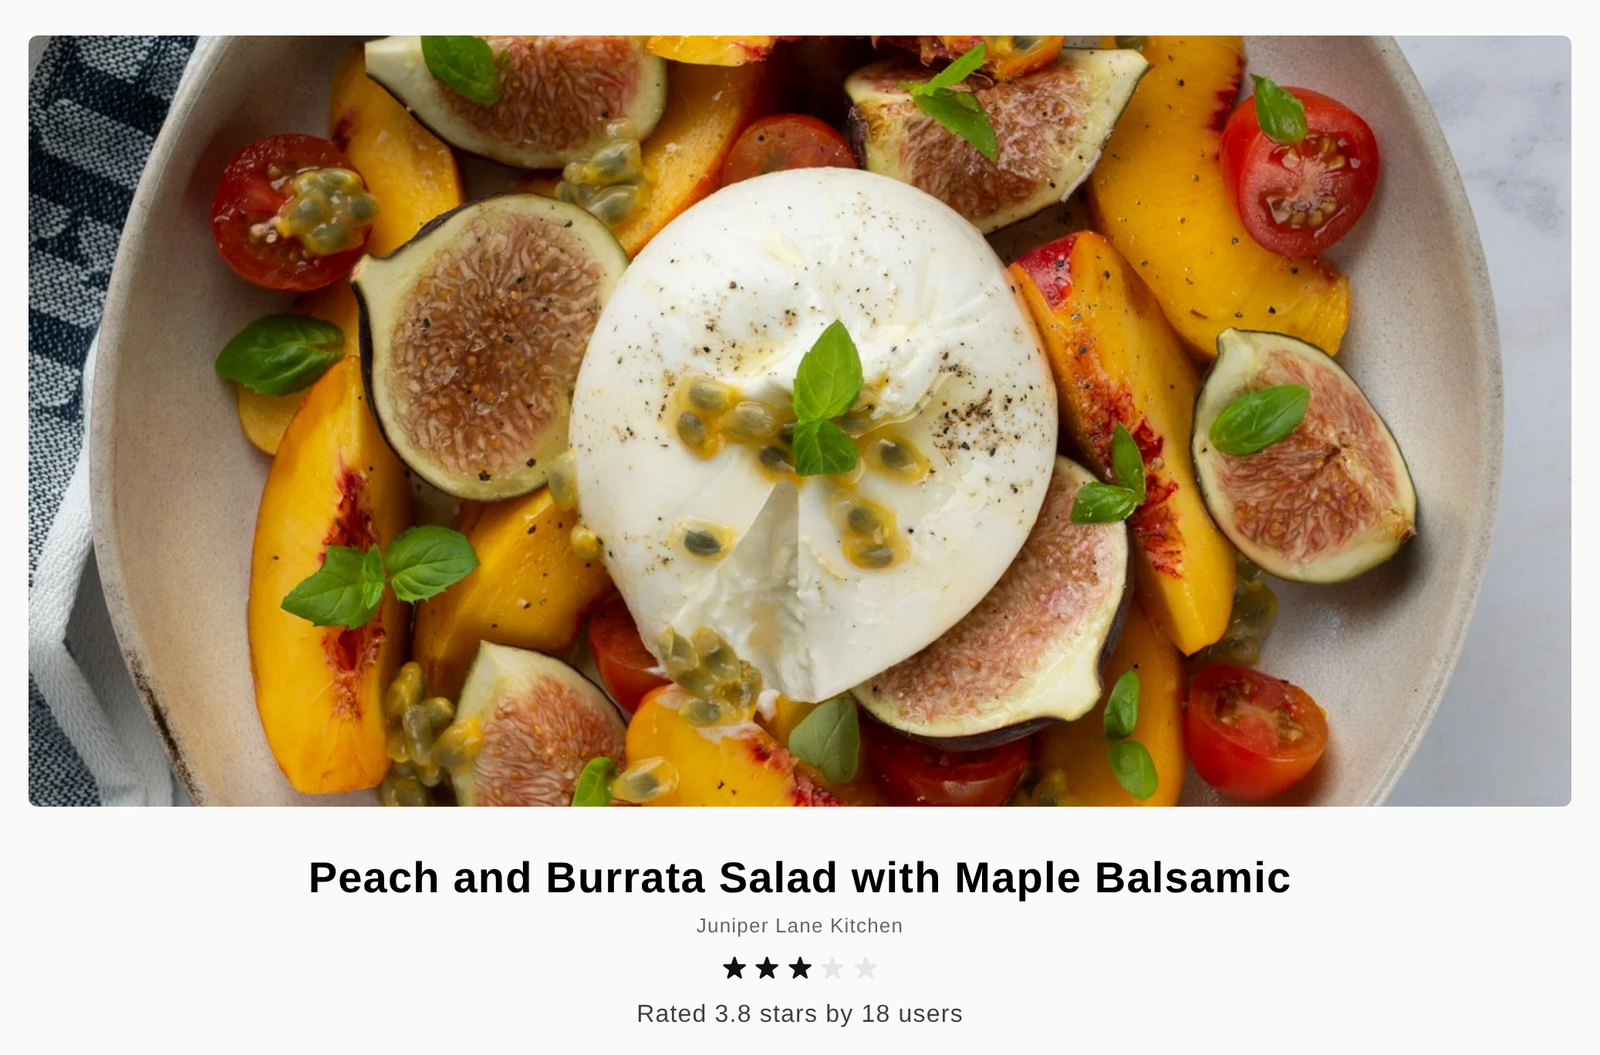
The recipe card crops your photo to fill a fixed frame, rather than shrinking it to fit. A tall or square photo is trimmed at the top and bottom, so only the middle strip shows. That is the crop at work, not a fault.
The crop is anchored to the center of the photo. Whatever is in the middle is what stays.
The size to upload
Upload 1200 x 800 pixels, landscape (3:2).
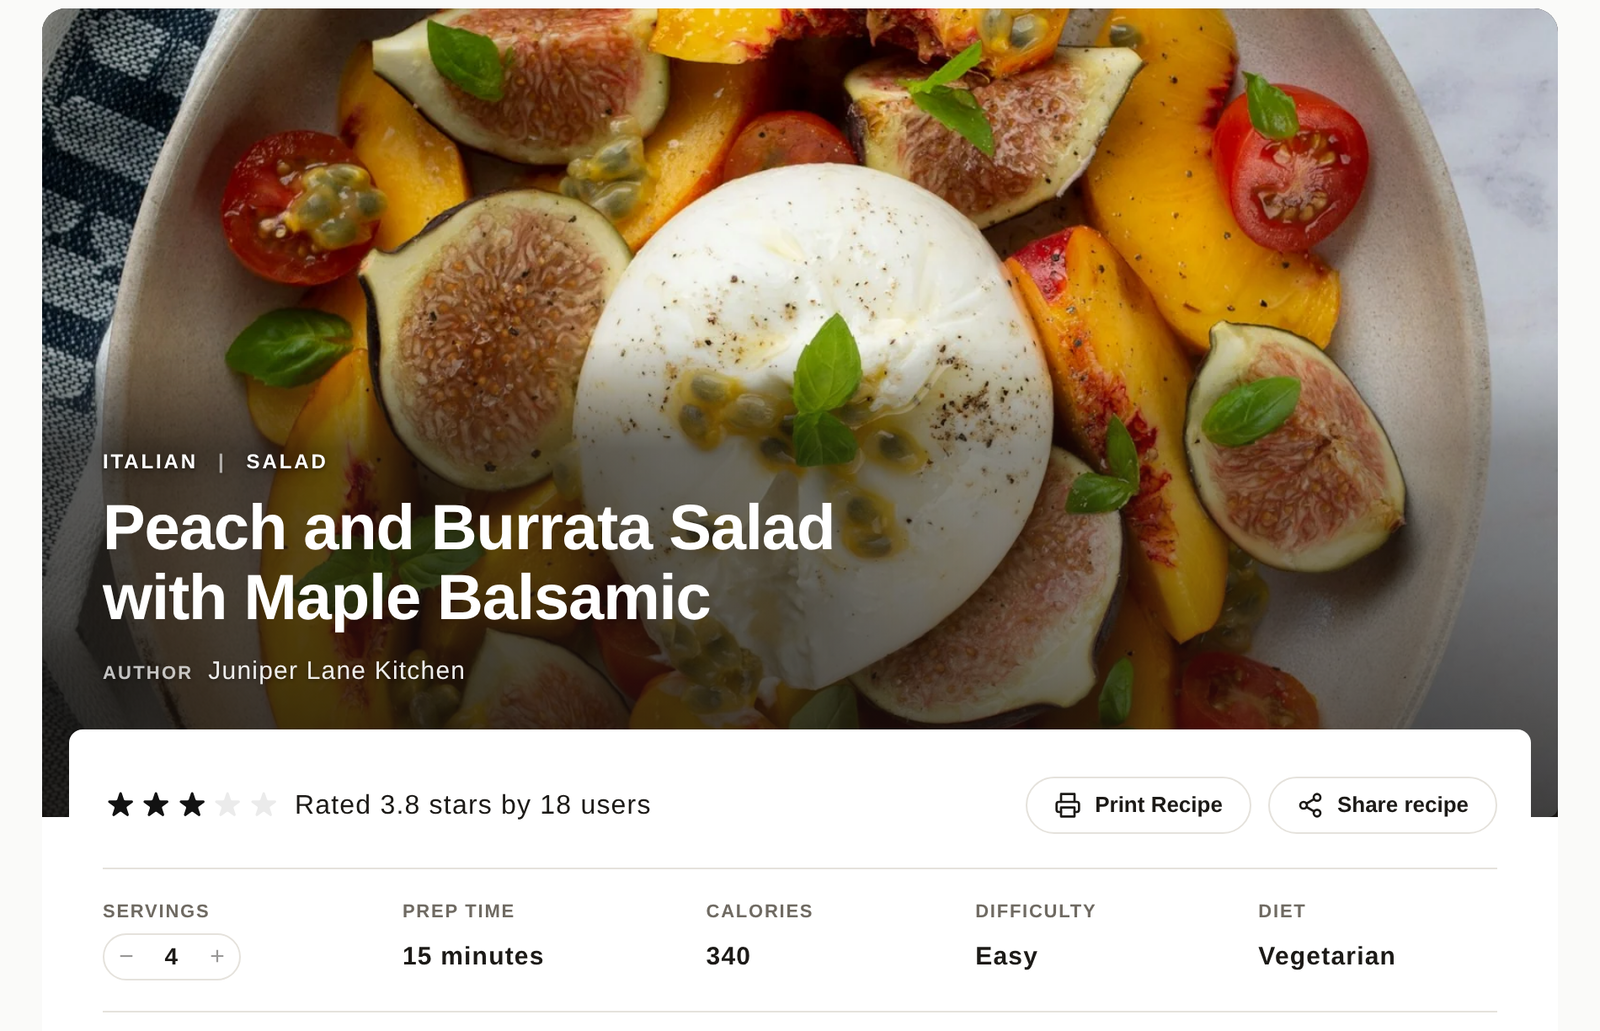
Classic, Compact, Card and Card Vertical use a 3:2 frame, so one size works for all four. Editorial uses a wider 16:9 frame. Hero is at least 16:9 and grows taller when the title is long. On those two the photo loses more at the top and bottom.
| Design | Image frame | Tallest it shows |
|---|---|---|
| Classic | 3:2 landscape | 500px |
| Compact | 3:2 landscape | 500px |
| Card | 3:2 landscape | 400px |
| Card Vertical | 3:2 landscape | 450px |
| Editorial | 16:9 landscape | Scales with width |
| Hero | 16:9 or taller | Grows with the title |
Larger than 1200 x 800 is fine. Smaller than about 1000px wide starts to look soft on high resolution screens.
The card has no fixed pixel width. It fills whatever width your theme gives the blog post, which might be 800px on one theme and 1200px on another. Getting the 3:2 shape right matters more than an exact pixel count.
Center the dish
Because the crop works out from the center, framing decides what you keep. Put the dish in the middle of the shot and leave the empty space around the edges. If the food sits off to one side, crop the photo yourself before you upload it.
Keep the file small
Recipe Kit sends each visitor a copy sized for their screen, made from the photo you upload. That works for photos you upload or pick from your Shopify files. A photo linked from another website, for example through a CSV import, loads at full size.
Compress anyway. Export as JPEG or WebP at around quality 80 and aim for under 1MB. Tools like TinyPNG or Squoosh get there with no visible loss.
Quick checklist
- Crop to 3:2, landscape.
- Export at 1200 x 800 or larger.
- Center the dish in the frame.
- Compress to under 1MB.
- Add alt text.
- Upload, save, and check the card on desktop and on a phone.
What's next
- Recipe image not loading covers missing and broken images.
- Step-by-step photos covers adding a photo to each step.
- Recipe card templates covers the six card designs.